This post was originally published on the Mango Solutions blog.
At Mango we work with a great many clients using the Shiny framework for R. Many of those use Shiny Server or Shiny Server Pro to publish their shiny apps within their organisations. Shiny Server Pro in particular is a great product, but some of the stock html pages are a little plain, so I asked the good folks at RStudio if it was possible to customise them to match corporate themes and so on. It turns out that it’s a documented feature that’s been available for around 3 years now!
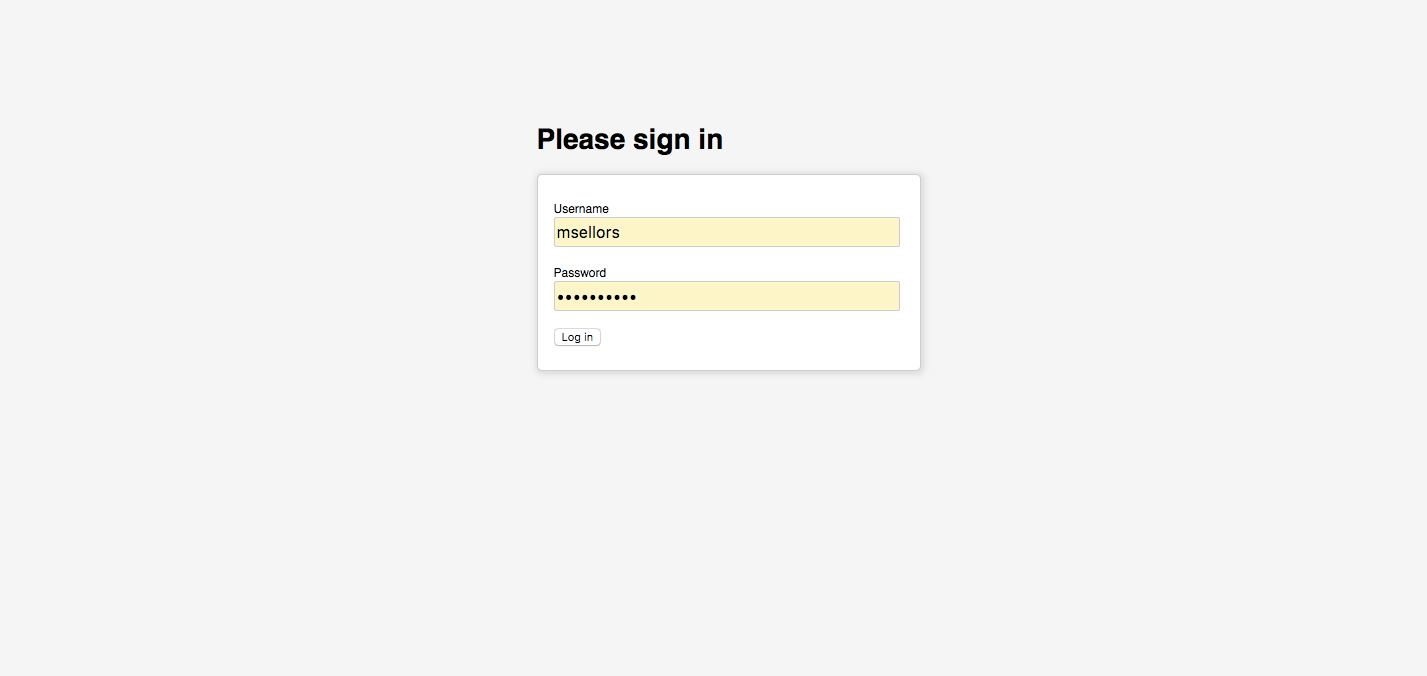 *The stock Shiny Server Pro login screen*
If you want to try this yourself, check out the Shiny Server Admin Guide, but it’s pretty simple to do. My main point of interest in this is to customise the Shiny Server Pro login screen, but you can customise several other pages too. Though it’s worth noting that if you create a custom 404, it will not be available from within an application, only in places where it would be rendered by Shiny Server rather than by Shiny itself.
To get a feel for how this works, I asked Mango’s resident web dev, Ben, to rustle me up a quick login page for a fake company and I then set about customising that to fit the required format. The finished article can be seen below and we hope you’ll agree, it’s a marked improvement on the stock one. (Eagle eyed readers and sci-fi/film-buffs will hopefully recognise the OCP logo!)
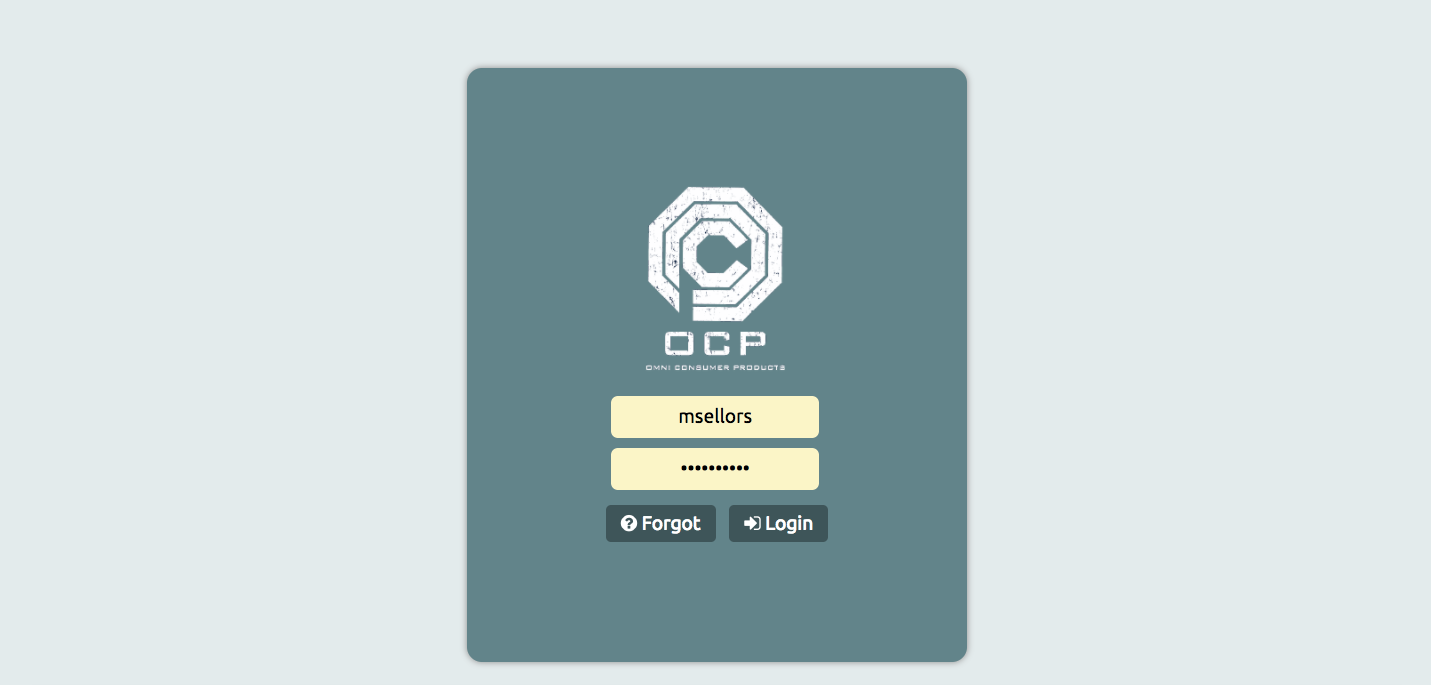 *Our new, customised Shiny Server Pro login screen*
This new login screen works exactly like the original and is configured for a single app only on the server, rather than all apps. We do have an additional “Forgot” button, that could be used to direct users to a support portal or to mail an administrator or similar.
Customisations are very simple, and use the reasonably common handlebars/mustache format. A snippet of our custom page is below. Values placed within handlebars, like {{value}}, are actually variables that Shiny Server will replace with the correct info when it renders the page. I stripped out some stuff from the original template that we didn’t need, like some logic to use if the server is using different authentication mechanisms to keep things simple.
<form action="{{url}}" method="POST">
<input id="successUrl" type="hidden" name="success_url" value="{{success_url}}"/>
<input name="username" value="{{username}}" autofocus="autofocus" required="required" type="text" id="username">
<input name="password" value="Password" autofocus="autofocus" required="required" type="password" id="password">
<button onclick="location.href='http://example.com/support'">
<i class="fa fa-question-circle" aria-hidden="true"></i> Forgot
</button>
<button type="submit">
<i class='fa fa-sign-in' aria-hidden='true'></i> Login
</button>
</form>
Hopefully this post has inspired you to check out this feature. It’s an excellent way to provide custom corporate branding, especially as it can be applied on an app-by-app basis. It’s worth knowing that this feature is not yet available in RStudio Connect, but hopefully it will arrive in a future update. If you do create any customisations of your own be sure to let us know! You’ll find us on twitter @MangoTheCat.