I use R both inside and a outside of work quite a bit. As someone who deals primarily with R infrastructure, this usually revolves around Linux and RStudio Server and the rest of R’s ecosystem.
Outside of work I generally use a Chromebook for most stuff, along with a Linux server (with RStudio Server on it) to mess around, learn new things and work on my various personal projects. My Chromebook isn’t the newest or the most powerful, but it allows me to get stuff done and is fun to use, so I’m pretty happy with it.
For those who don’t know, a Chromebook is essentially a laptop with Google’s Chrome OS on it instead of Windows or MacOS. Chrome OS is an operating system built around the Chrome browser. You get the browser and that’s about it. There are many pros and cons to this model, but fortunately for me, a browser and an SSH terminal is pretty much all I need. I have a Chrome extension installed that handles the SSH and then I have a RStudio Server on my Linux server. I use this a lot as it’s great for editing all sorts of files, not just R and it also has a terminal and file manager so I can be extremely productive with it.
Recently however, Google introduced beta support for running Linux on top of Chrome OS. Chrome OS itself is actually based on Linux, but it’s not really exposed to the user. This new feature runs on top of that. It’s only a beta at the minute, but it seems to work really well. So well in fact, that I thought I’d see if I could install the desktop version of RStudio on it, just for fun.
We’ll go through how to install it in a moment, but I just wanted to start by saying that there are no real tricks in any of this. No hacking or jail-breaking type stuff. It’s all just a description of a beta feature of Chrome OS and some Linux commands, but the results are still pretty cool.
So let’s get started.
Enabling Linux on Chrome OS
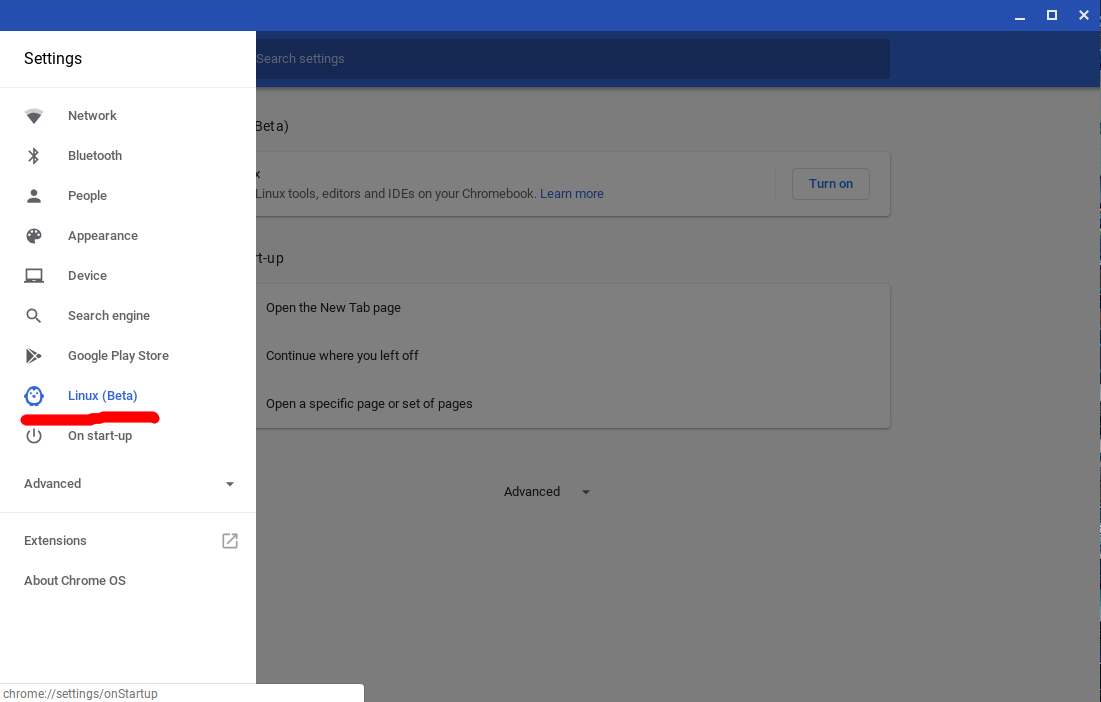
Firstly, we need to establish if you have a Chromebook capable of running Linux. Open the main settings menu by clicking on the time in the bottom right then clicking the cog wheel icon.
Have a look on the menu on the right hand side for ‘Linux (Beta)’
If you don’t have that option you’re out of luck. Keep checking back though. Support for this feature is expanded to new hardware quite regularly.
If you have that option, click it - you should have the option to turn on the Linux feature.
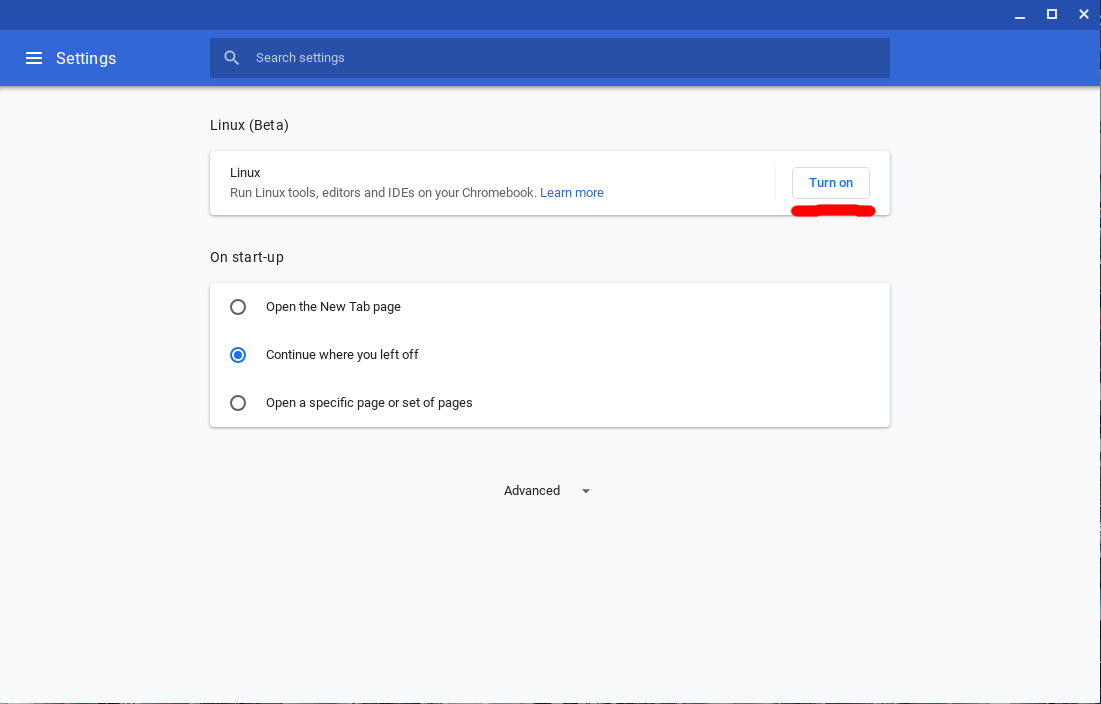
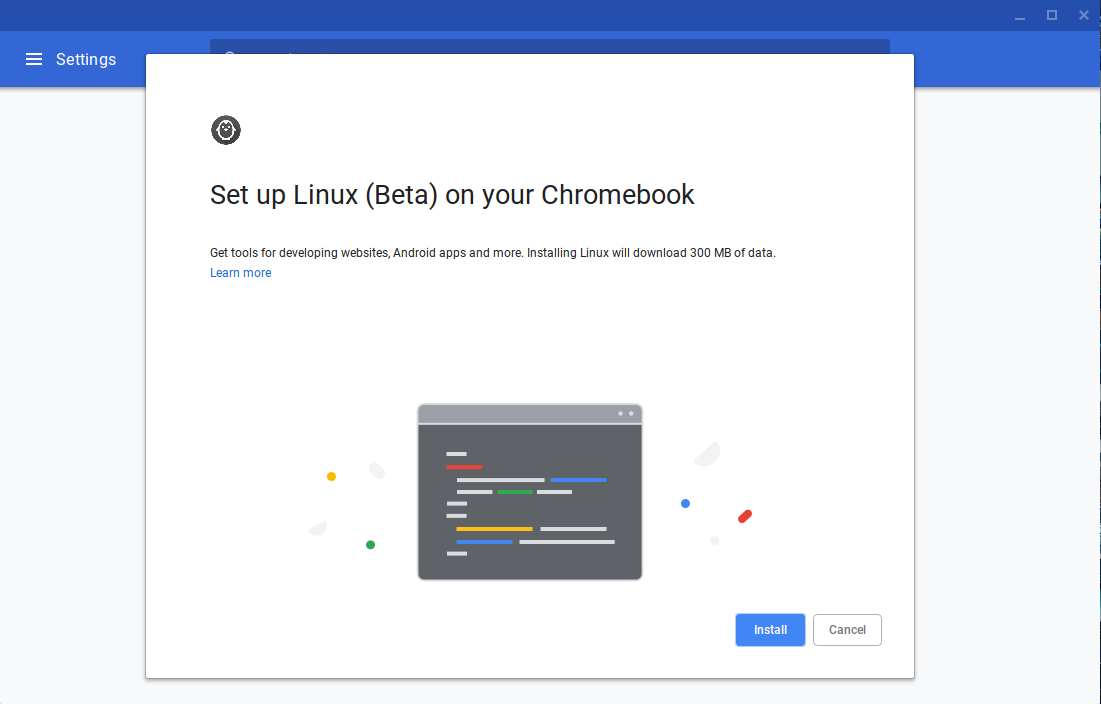
Follow the on-screen prompts to set up Linux on your Chromebook.
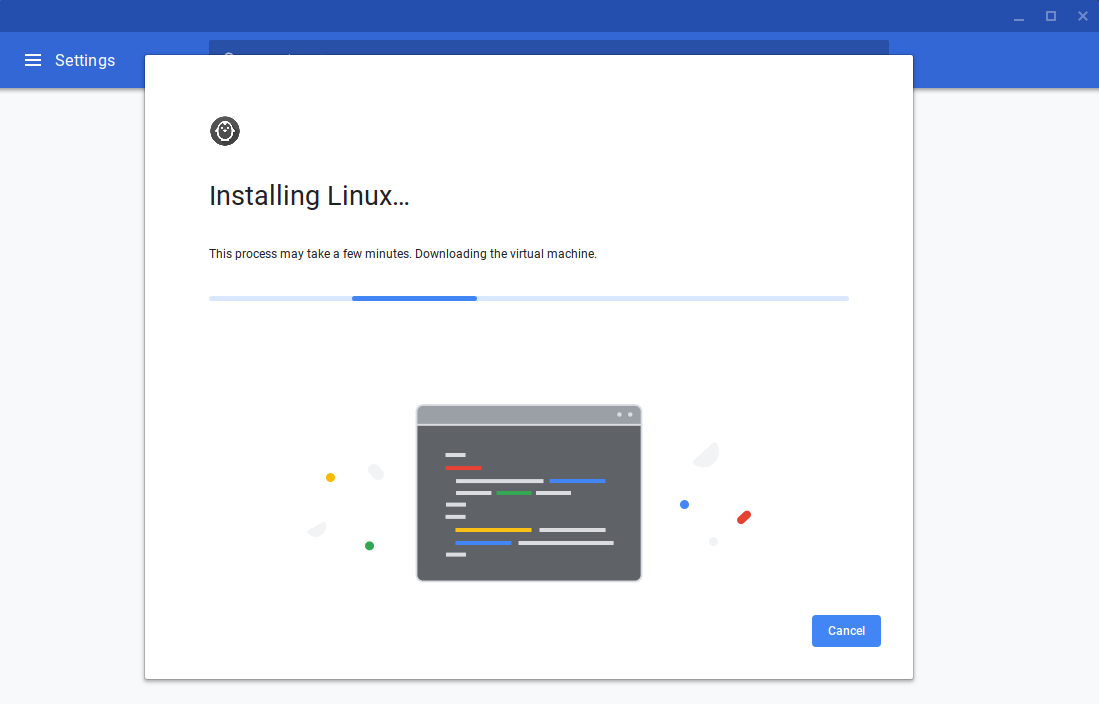
That process can easily take 10 minutes or so, depending on the speed of your internet connection as it downloads. Once it’s complete though, it will launch a terminal session. As you can see from the prompt the hostname for the Linux session is “penguin”.

Now at this point it’s a good idea to understand what we have in front of us. The command lsb_release -a tells us a little about what version of Linux we’re looking at.

In this case it’s Debian 9.5. This information will be useful later on.
Installing R
Debian Linux has a version of R in its standard repositories, and has done since 1997 apparently! Let’s see which version is available at the moment:
sudo apt search r-base | grep ^r-base
Which gives us the following output:

Nothing wrong with R 3.3.3 but it’s a bit long in the tooth now and I’d prefer a newer version.
Fortunately, CRAN has information about installing a newer version and the rest of this section just covers the important parts of that process.
We’re going to configure an additional Debian package repository on our Linux system as that has a newer version of R available in it.
Install gnupg2 and then use it to import the key for the repo:
sudo apt install -y gnupg2
sudo apt-key adv --keyserver keys.gnupg.net --recv-key 'E19F5F87128899B192B1A2C2AD5F960A256A04AF'
The repos are cryptographically ‘signed’ by the package publisher to prove their provenance, so this is an important part of maintaining the security of your system.
Now add the repository to the system configuration:
sudo vi /etc/apt/sources.list
We need to add this line to the end of the file:
deb https://cran.rstudio.com/bin/linux/debian stretch-cran35
(You can edit this line to reflect your preferred CRAN mirror if you’d like. I’ve opted for the RStudio one here.)
The ‘vi’ editor can be intimidating if you’re not familiar with how it works, but we just need to add a single line at the end of the file. Take your time and follow these steps:
- press ‘shift+g’ to go to the last line of the file
- press ‘o’ to add a new line underneath and to switch to insert mode
- paste the repo config line with ‘ctrl+shift+v’
- press ‘Esc’ to exit insert mode
- type ‘:wq’ and press ‘Return’, to write the file and exit vi
If you get stuck at any point or feel like you’ve made a mistake press ‘Esc’ and type ‘:q!’, followed by ‘Return’ to quit without saving. Then you can try again.

Now that we’ve added a source to the system that has a later version of R, we can go ahead and install it:
sudo apt update
sudo apt upgrade
sudo apt install -y r-base r-base-dev
This updates the internal package cache with the info from the new source we added, then upgrades all the packages that are currently installed that have an update available. Then finally we install R itself.
Note: At the time of writing (2018-12-20), you’ll get R 3.5.1.
Installing RStudio Desktop IDE
The Debian version of the RStudio Desktop IDE has a few dependencies that we need to install:
sudo apt install -y libgstreamer1.0 libgstreamer-plugins-base1.0 libxslt-dev
Then we can download the package from the RStudio website and install it:
curl -o rstudio.deb https://download1.rstudio.org/rstudio-xenial-1.1.463-amd64.deb
dpkg -i rstudio.deb
Once that’s installed you should have an ‘RStudio’ option in your apps menu as seen in the image below.
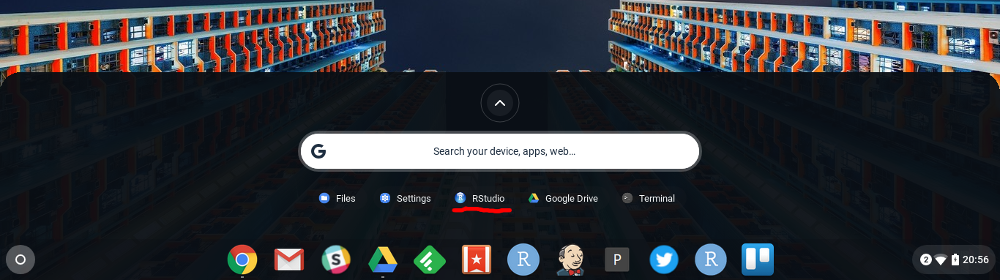
If you click on that RStudio will start and you can start experimenting! Remember though, most Chromebooks are fairly low spec devices so you probably won’t get stellar performance.
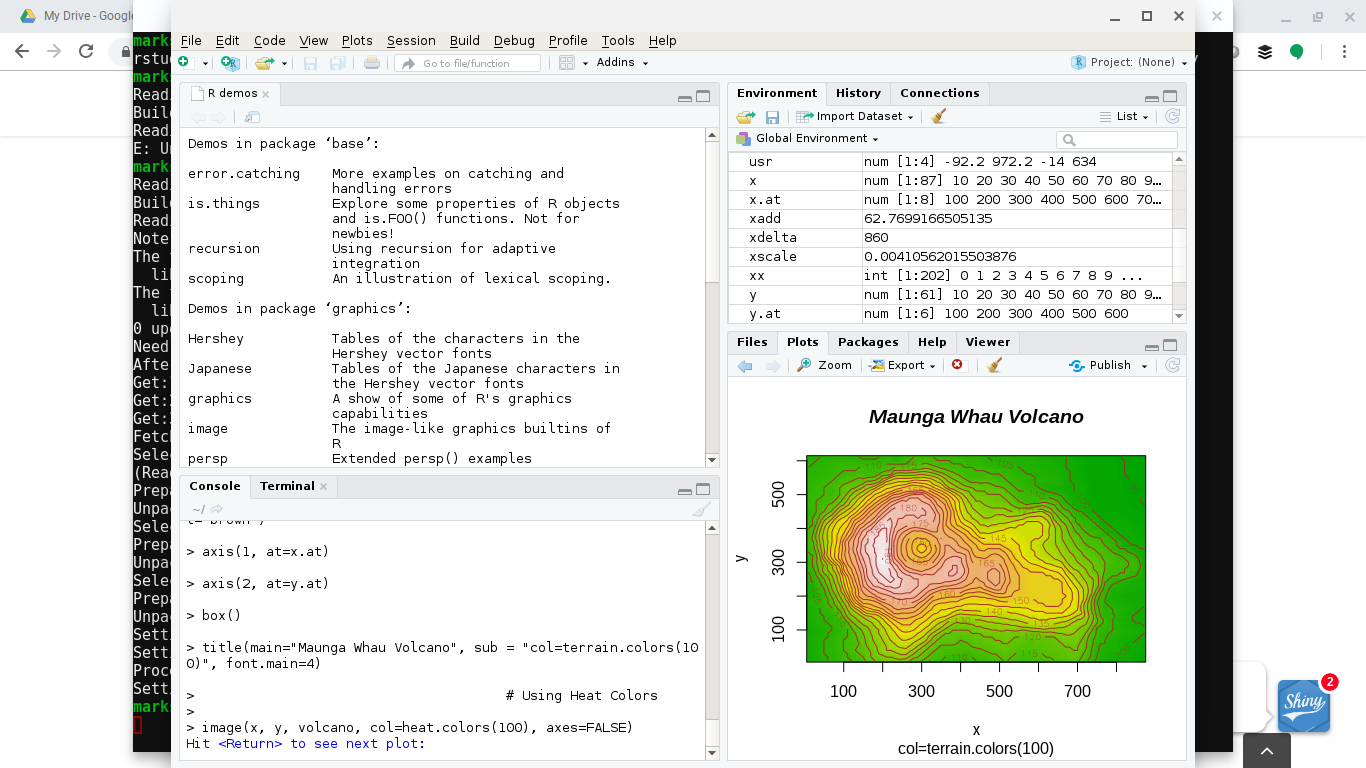
When it’s running you’ll get a larger version of the icon on the taskbar at the bottom of the screen. If you right click that icon you can choose to ‘pin’ the shortcut to the taskbar.
Working with files
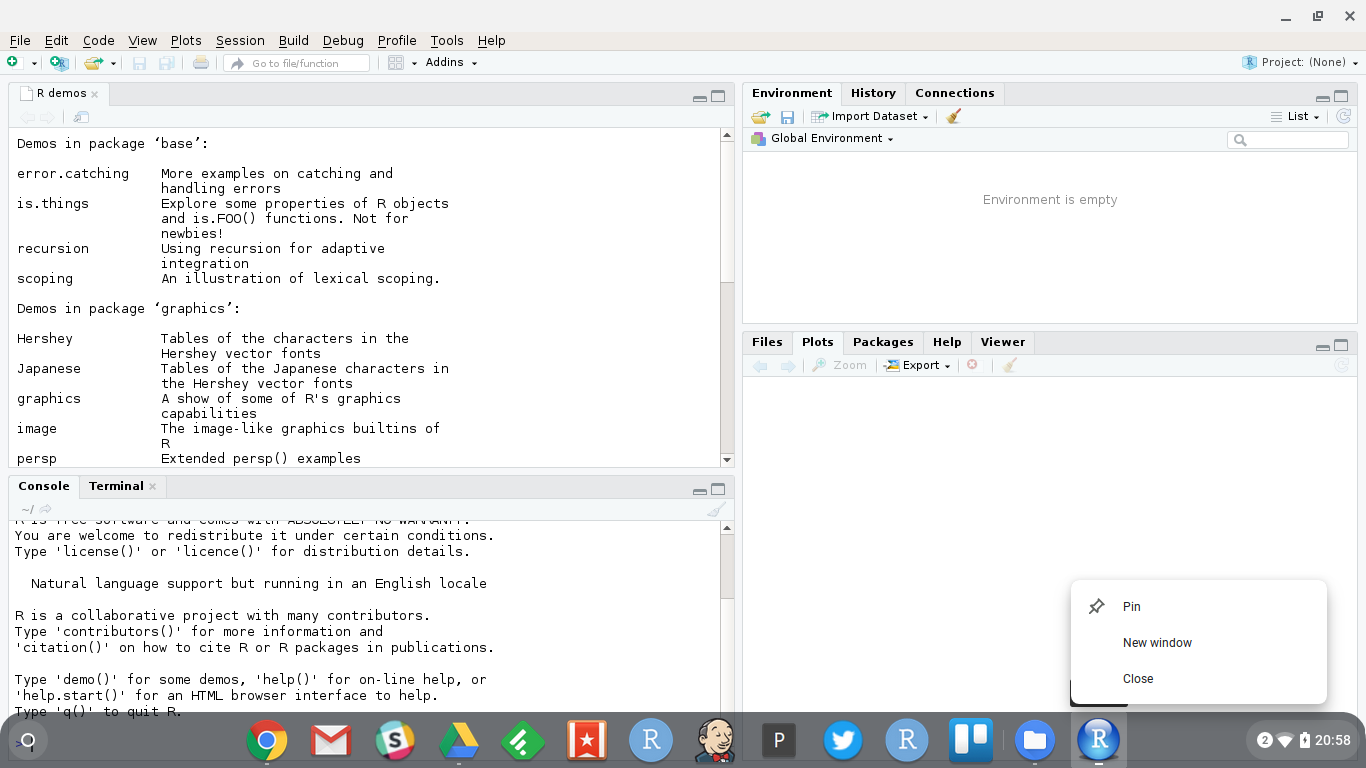
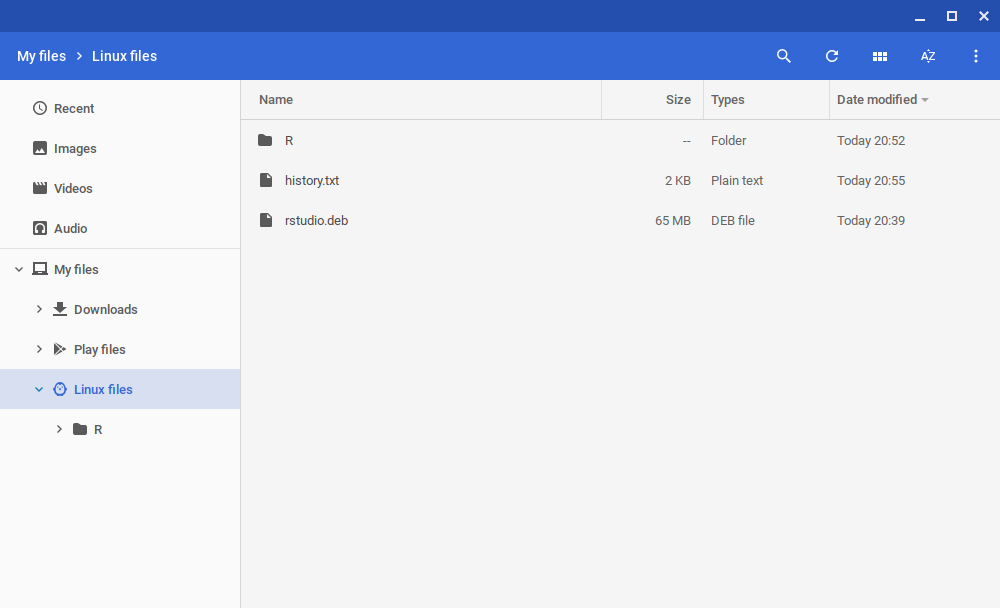
As a little bonus, when you save files to your ‘home directory’ in RStudio Desktop they’ll appear in the new ‘Linux files’ option on the sidebar in the ‘Files" app. So you have the ability to pass files between the Chrome OS environment and the Linux environment (where RStudio is running).
Undoing everything
If you want to undo everything, go back into ‘Settings’ and have a look at the Linux option again. It gives you the option to clean everything out in it’s entirety - Linux, your R and RStudio installs and the files in your Linux home directory.
Useful if things go wrong and you want to start again, or you need to write a blog post about the process!
This is still a beta feature and there’s a big question mark over how useful this is really, especially when web apps are as good as they are.
In the R world specifically, we have RStudio Server, which is brilliant if you’re in a position to use that. There’s also RStudio.cloud which is, as the name suggests, RStudio’s cloud offering which is currently in Alpha, but really very good - it’s also free, so you should definitely check that out.
I guess I might use this a little if I’m stuck on a plane or something like that, but probably not very much. That said, it’s very interesting to see that what are often quite low cost computers can be successfully used in this way.
We’ll have to wait and see how this plays out with Chrome OS in the future. In some ways, the addition of this feature at all seems like a bit of an admission that web apps aren’t fit for every purpose, but whatever the case, it’s nice to have options.